Once you have booted the computer with the Windows Vista CD, you will be
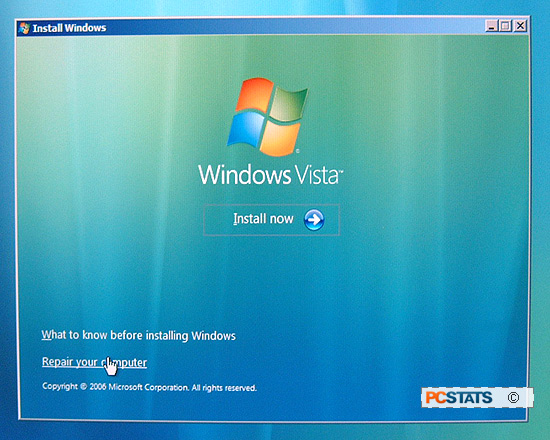
presented with Vista's initial install screen, where you choose language options
and time settings. Click 'next'.
Now you want to choose the 'repair your computer' option to the lower left.
The Windows Vista recovery environment will launch and attempt to detect any Vista
installations on your hard disks. Assuming your installation of Vista
is detected, highlight it and click 'next.' If nothing shows up on this
screen, proceed to the 'what if the Vista repair environment does not find my
Vista installation?' section a little further on in this Guide.
.jpg)
The Windows Vista startup repair process will begin automatically.
Windows Vista startup repair process
The first Vista recovery program we will explore is Windows Vista's automated
startup repair application. This tool will fix a variety of problems that
prevent Vista from starting correctly, and is Vista's new swiss army knife
version of Windows XP's manual repair install process.
Startup repair can fix boot problems including corrupted boot
records, missing system files, driver problems and a plethora of other issues. It
can also access system restore automatically if it finds that your system
needs to be rolled back to an earlier setting. In our tests, startup repair
is very effective at repairing missing system file and boot manager issues, much less
effective at repairing damage caused by viruses, and needs quite a bit
of user help to deal with partitioning issues like removing the boot partition from a dual-boot
Vista/XP system.
In theory, system repair will not delete or alter user data, though this
holds true only if your data is stored where Windows Vista expects it to be
stored (in the folders under your 'user' folder such as 'documents', 'downloads'
etc. or on the desktop). If you store data on the root of the system drive
(generally C:) you may lose it during the repair process.