Step 4a:
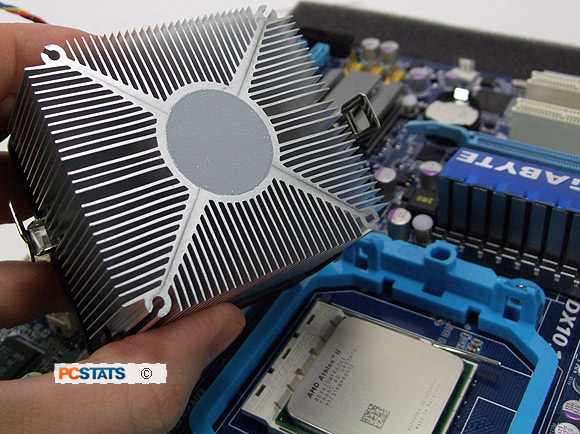
Lay your computer case down flat with the motherboard
and processor facing you. Remove the heatsink from it's packaging and check the bottom to
make sure the thermal interface material on the bottom of the heatsink is
undamaged.
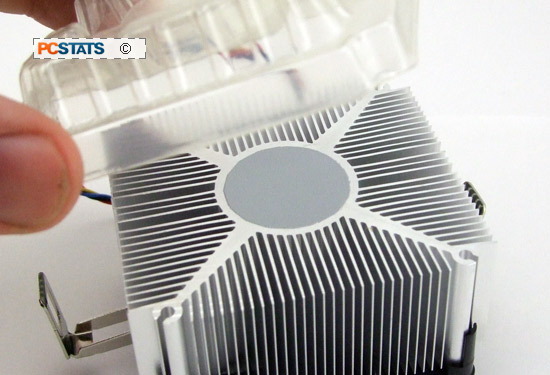
Some heatsinks come with
grayish thermal compound pre-applied by the factory, if this is the case you do NOT
need to add any additional compound. The heatsink can simply be installed as
is.
(showing the thermal compound pre-applied to the heatsink has spread
properly)
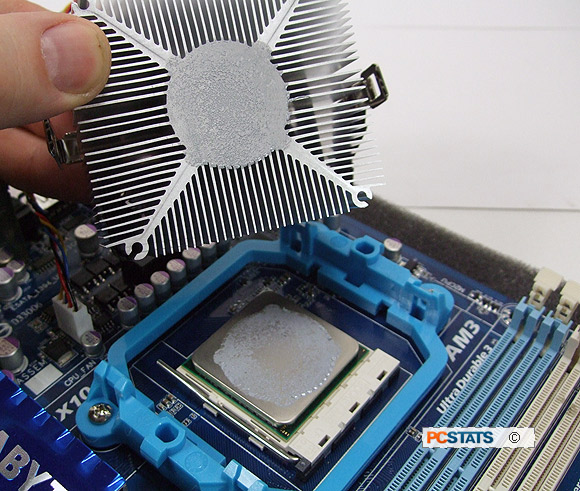
Step 4b: If the heatsink did NOT come with any thermal compound pre-applied,
you DO need to apply a small amount of thermal compound to the base
of the heatsink
and top of the processors' integrated heatspreader. From the
supplied syringe or plastic squeeze pack, add a small drop of
thermal compound to the bottom
of the heatsink and spread it around evenly with your finger tip. If the
heatsink had a protective plastic film covering the base, be sure you removed that
first.
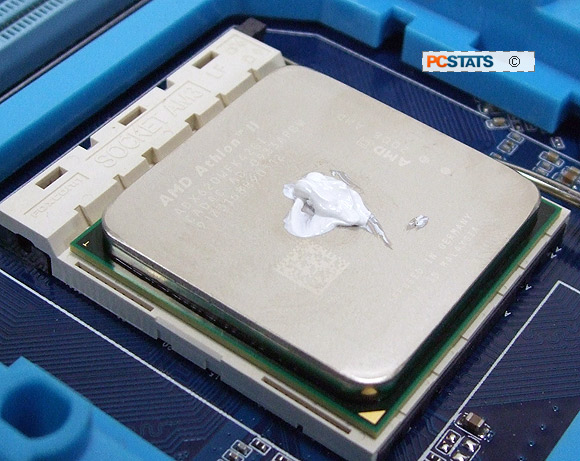
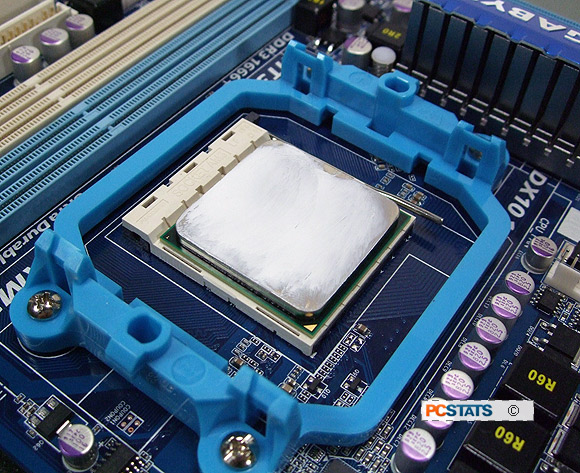
Also add small amount of thermal compound to the top of the AMD
processor and spread it around evenly. Never-ever install a heatsink without
thermal compound and do not apply too much. Since this material is used to
fill microscopic voids between the heatsink and CPU, the less that's used the better it
works.
In this PCSTATS DIY Guide we're using standard white
silicone based thermal compound, also known as 'thermal grease' or 'thermal paste.' It's economical, quite effective and completely non-conductive.
Silver-based thermal compounds can endanger your computer system if they leak
or are applied carelessly and short out an
electrical connection. Save your money, there's no need to spend $12 on
a tube of silver thermal compound anyhow.
With AMD heatsinks there are usually two ways the CPU cooler can face,
as long as the metal heatsink clips are aligned with the plastic tabs on either side of the motherboard heatsink retention cage
everything will work.
(Aftermarket heatsinks -
Generally speaking, tower style heatsinks should
be installed so hot air exhausts from the heatsink towards the
rear of the computer case or towards the top vents /
powersupply.)
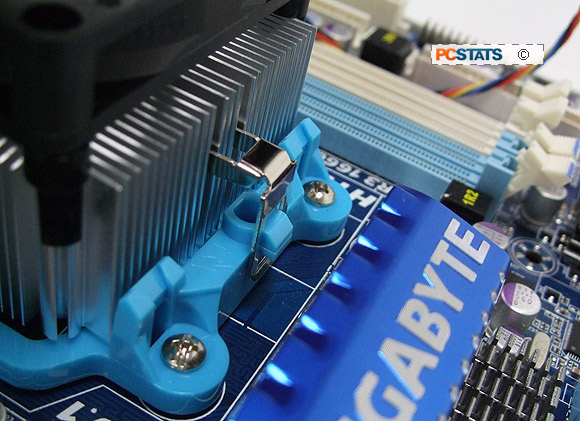
Step 5: Place the
heatsink on
top of the socket AM3 processor and hook one of the heatsinks'
two metal clips over one of the plastic tabs of the motherboards' socket AM3 heatsink
retention cage. It's easiest to do this with the fixed end of
the metal clip.
Sit the heatsink flat in the socket and make sure
the heatsink cam lever arm is in it's loose, unlocked
position.
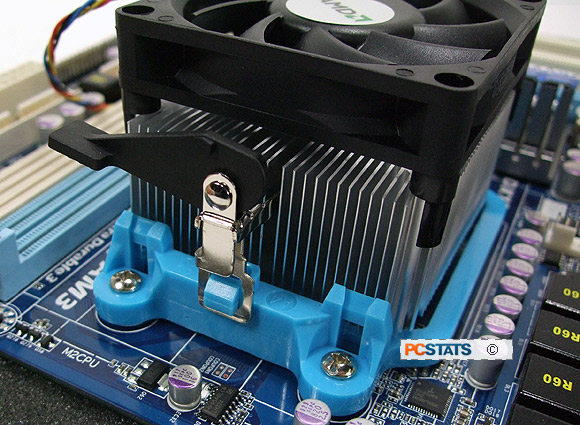
Engage the metal heatsink clip with the motherboard heatsink
retention tab. Ensure that the heatsink is sitting evenly on top of the processor and rotate the
cam lever arm 180 degrees to the right to apply camping force and lock the
socket AM3 heatsink firmly in position.
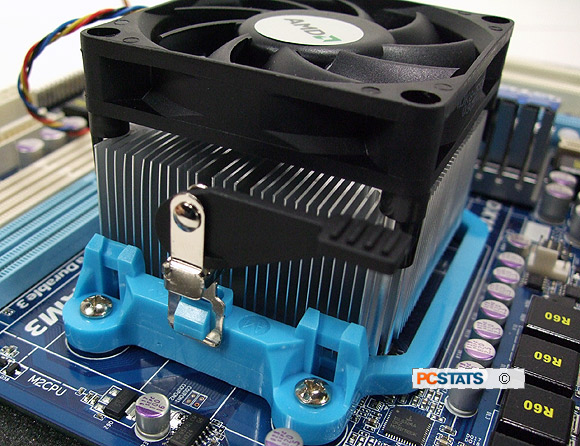
Socket AM3
The heatsink cam lever arm is now in it's locked position
and the heatsink is installed. All that remains is to connect the CPU heatsink fan power cable to the correct motherboard fan
header. If you don't flip this little
lever to it's locked position the heatsink make come loose and the CPU overheat.
Finally, give the installed
heatsink a gentle little twist to ensure it's installed correctly and
nothing is loose or prone to fall off when the computer case is
moved around. There should be no play in the heatsink - it should be very
firmly attached to the motherboard at this point.

