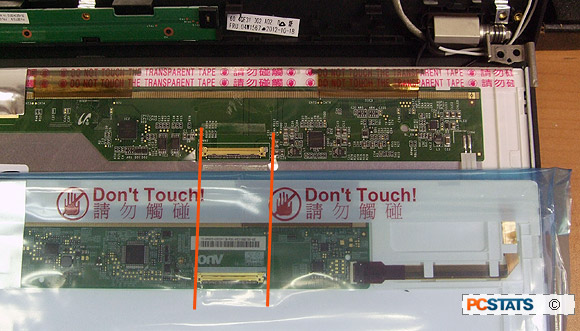
Before removing the
replacement LCD panel from its anti-static bag, we
do one last check to ensure the data cable connectors are the same spot. The
connectors line up perfectly (see: orange lines, below), so we're ready to unscrew the
final screws holding the cracked LCD panel from the metal frame and make the
swap.
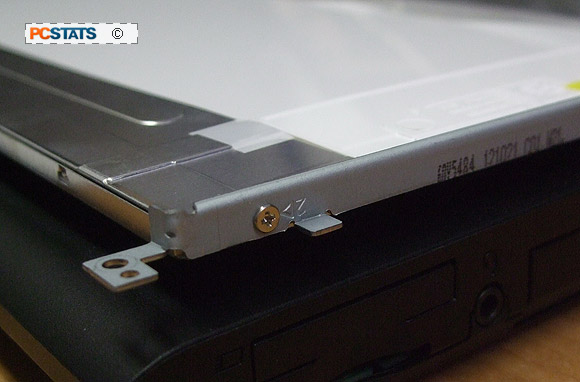
Undo
the screws which connect the metal frame to
the LCD screen panel. There are two screws along the top edge and two more by the
hinges.
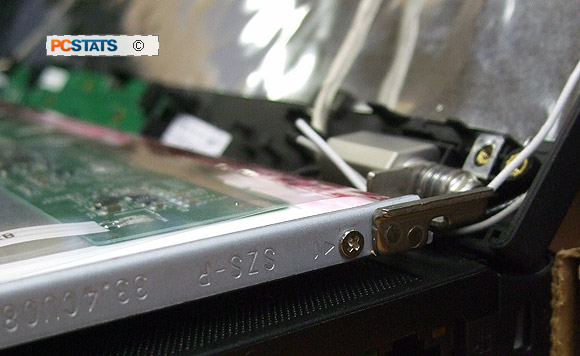
After the last two screws are removed, carefully slide
the broken LCD panel out and set it aside.
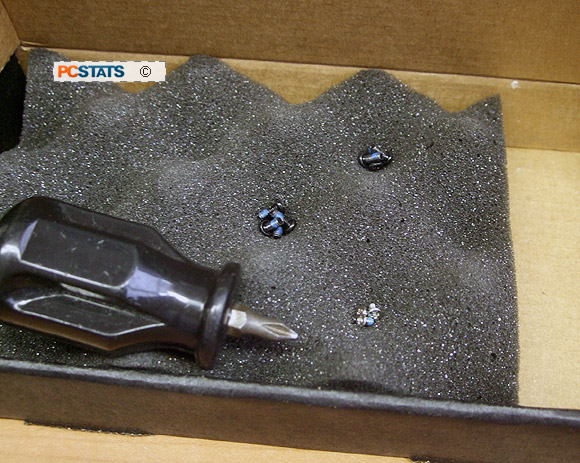
We now have three different sets of screws, grouped
according to where they go in the notebook. The foam really helps organize these
tiny fasteners.