|
Installation and Setup
Due to the fact that no less than six separate components (the
imaging unit, the transfer belt and the four toner cartridges) need
to be manually installed before the CLP-550N can be used, reading the manual is essential.
Fortunately the illustrations and instructions are clear and helpful, and we had
little trouble getting the printer together in about ten minutes.
You will need
to be careful during this process though, as some of the components, most
notably the imaging unit, are fragile and vulnerable to scratching. The
imaging unit is also light sensitive, and the manual warns you to get the cover
closed as soon as possible once it is installed. We'd recommend performing
the setup out of direct sunlight if at all possible.
 |
 |
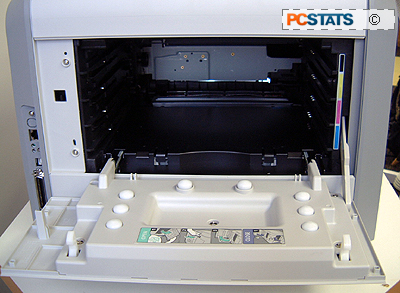
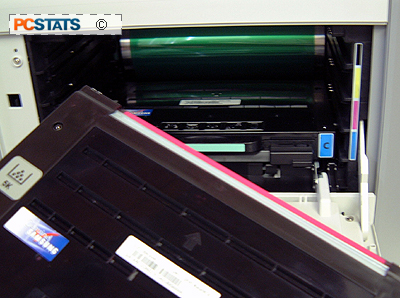
| The first step is to open up the rear
and top tray doors for installation of the toner cartridges and imaging
drum (right). The imaging drum is sensitive to light, so Samsung
recommends it not be exposed to light for more than a few seconds. It is
also important not to touch or scratch the green drum, or image quality
will be affected. |
 |
 |
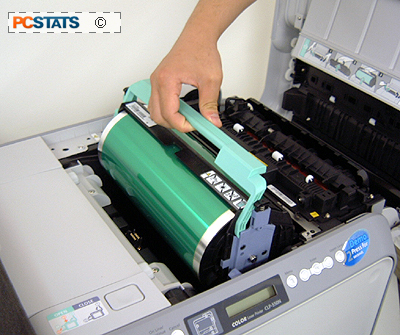
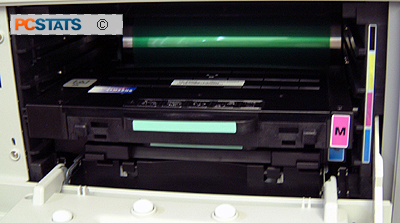
| The second component to be installed
is the transfer belt cartridge, which sits on top of the imaging drum.
After it has been installed, and the top of the CLP-550N closed, the
manual instructs us next to open up each sealed toner cartridges (from the
bags they ship in), and install them into the corresponding
colour-coded slot. The toner cartridges are also keyed, so they cannot be
installed into the wrong slot. |
 |
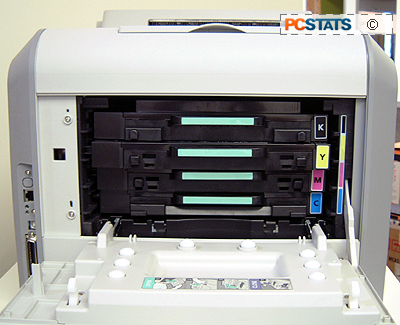 |
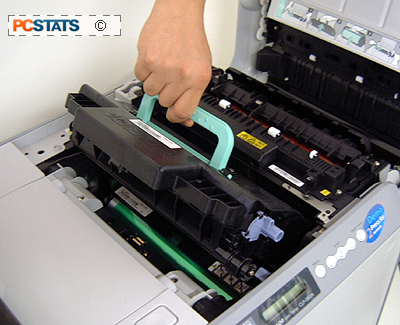
| A total of four toner cartridges are
needed for a colour laser printer, corresponding to the CMYK colour
scheme. Once they are installed into the CLP-550N, close up the back of
the printer and you are good to go. Here's a tip, if you get toner on
your clothes, only use cold water to wash it out, heat will set the
toner. While somewhat complicated, the installation of all the necessary
components is well documented, and only takes a few minutes to do before
the Samsung CLP-550N can start printing. |
|
|
|
|