To access the inside of the
Prometeia Mach II GT, you must first remove the four screws at each corner
of the side panel, Then pull it firmly outwards. It won't move at first since it's also
attached with double sided tape but when enough forced is applied, it will pop
off.
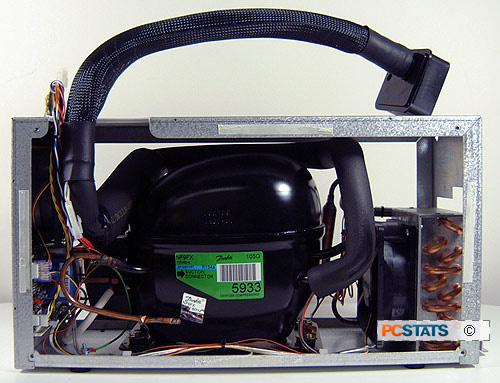
Looking at
the inside of the Mach II GT with all its side panels removed.
With
the front bezel off, you can mount/dismount the front panel display and
give the insides the occasional dust cleaning they will eventually require. It's
important to keep the internal components free of dust build-up, as there is no filter in front of the intake fan to
do this automatically. In the picture above, the black round container in the center is
the refrigeration compressor, and in front of it is located a cooling fan and
the compact heat exchanger. The control electronics, and a secondary exhaust fan are located
on the opposite end, adjacent to where the cold head arm winds up towards the
top.
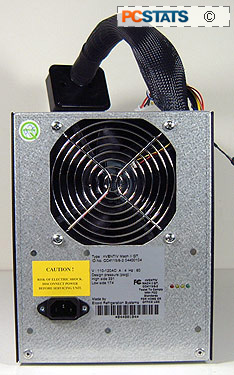
At rear is the 120mm exhaust
fan, power plug, and four small LED status lights just next to the label. The USB
connection and several other power connections actually go up into the computer
case along side the cold head arm. When plugged into 120VAC, the unit will be in
standby mode and not turn on until it senses power from a
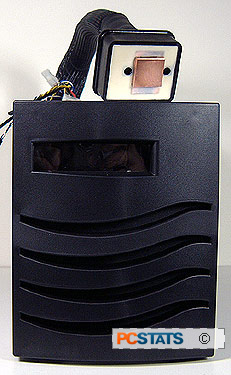
Molex connector in the PC. The front of the Prometeia Mach II GT has no controls
of any type.