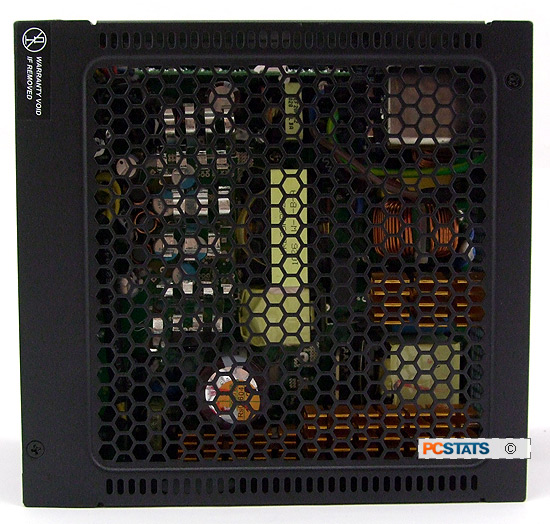
The top of the Seasonic X-460 Fanless is all honeycomb grill. Hot air exits the
unit by convection airflow so this side of the power supply should be facing up
and not blocked off or obstructed in any way. A warranty sticker covers one of the
screw holes so if you open it you'll have voided the warranty in the
process. The matte black finish looks great and isn't as prone to scratches and
fingerprints as a shiny glossy finish.
The bottom side of the power supply provides
all the electrical information you need, including the output of
its 12V rails and overall power output. The unit serial number is printed
here for warranty support.

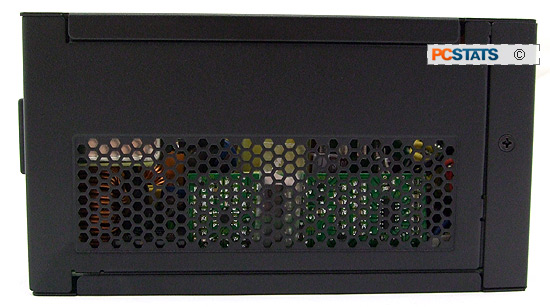
The back of the X-460 Fanless power supply is pretty plain. There is a
plug socket for the mains power cable and a hard power switch. The Seasonic
X-460 Fanless doesn't need a 115/230V switch since it supports Active PFC. A
honeycomb vent covers most of this side as well.

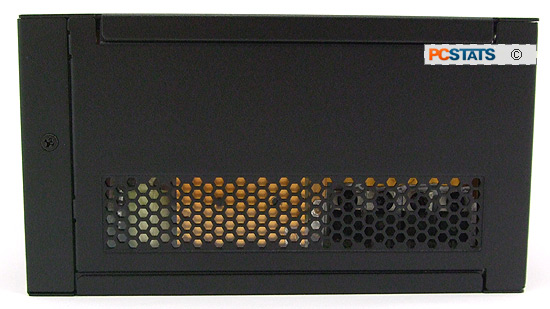
Also note that the screw holes for mounting
this power supply in a case are doubled up so that it will always be possible to
mount it with the top vent facing up.
More honeycomb venting on
the side panels.
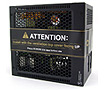
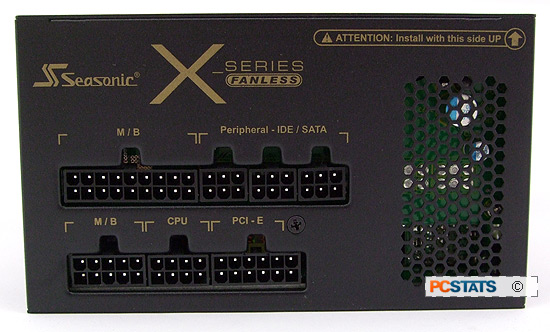
The front side of the Seasonic X-460 Fanless has
the modular cable jacks and a bit of honeycomb venting. A warning message
reminds us to always install the power supply in the correct orientation. There
is a split jack for the motherboard (M/B) main ATX power cable, three
for peripherals like IDE/SATA cables, one jack for the auxiliary CPU power cord and
one for the PCI Express power cable. The connectors are easy to engage/disengage, but removing the
bottom row while the first is populated is a bit tricky
for those with large fingers.
We'll look briefly at the cable bundles that are
included along with the Seasonic X-460 in their very own carry case no less,
next.