Inside FDISK the first thing we need to do is accept the
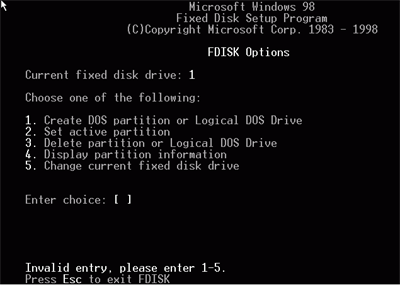
default (y) support for large drives. Upon running FDISK, you will be
presented with the following screen:
Select (5) to view a list of all drives available on the
system, then select the new hard drive. Press (4) to view partition information on the
drive. It should be completely blank. If not, ensure that you did
select the correct drive in the previous step.
Select (1) to create a partition, then on
the next screen choose (1) to
create a primary (first) partition on that drive.
Select (y) if you wish to use all the space on the drive for this one
partition, or (n) if you wish to make more than one partition on the drive now
or later. If you selected (n), enter the amount of space you wish to use
for the primary partition.
If you selected (y) to the above option, exit FDISK and reboot your computer
to Windows, then skip down to the formatting section below.
If you selected (n) and did not use the full amount of space for your first
partition, you must now make a secondary (extended) partition using the rest of
the free space.
Press (1) to create another partition, then (2) to create an extended DOS
partition. Note that while it gives you the option to use less than the
full amount of space on the disk here, any space which is not allocated now can
no longer be used by FDISK unless you erase the existing partitions and start
again. So accept the default (maximum available) size for the extended
partition, then press 'ESC.' This will take you to the menu for creating
logical drives (volumes) in the extended partition you just made.
To create a logical drive (that is a drive visible to Windows and represented
with a drive letter such as C: or D:), simply fill in the amount of space you
require the drive to have. If you do not use all the available space,
FDISK will prompt you to create a second logical drive, and so on, until all the
space in the extended DOS partition you created previously has been accounted
for. FDISK will assign drive letters sequentially from the first
available. There is no way to alter this in Windows 9x/ME.
Press ESC to exit FDISK and reboot to the Windows environment.